Configuration and Setup
Initial Setup
Unpacking
Check the contents against the packing list secured to the outside of the box when unpacking.
See Quick Start guide for a breakdown of accessories included with your model.
Council Rock recommends saving all shipping materials in case the unit needs to be returned. Contact techsupport@councilrock.com for assistance or notification of any issues.
Connecting the Cables
Connect RF Antenna(s) and GPS antenna to the unit
Insert SIM card(s) - See Configuration Fundamentals
Connect DC power to the power block
(Optional) Attach alarm sensors to the power block
Attach the power block to the front panel
Plug in the power supply
The E1500 will boot. Front panel LED changes state based on network connection
 |
Front panels differ across models. Panel shown is an example.
Web Admin
Connect a standard Ethernet cable from your PC to Ethernet 1 on the front panel.
The unit should receive an IP address in the 10.0.0.0/24 range from the DHCP server. If not, configure the PC interface with a static IP in the 10.0.0.0/24 subnet, except 10.0.0.1 which is used by the Ethernet 1 interface.
Using a web browser, navigate to https://10.0.0.1.
Confirm the security exception when it appears in the browser. The E1500 is factory-configured with a self-signed certificate for its web browser.
At the login screen, access the Web Admin Interface with the username and password provided.
Note
After three failed logins, the root user is blocked for 300 seconds between successive login attempts. All other users are blocked for 30 seconds between successive login attempts.
After initial setup, access to the Web Admin Interface may be set up for access via one or more of the Ethernet 2, WAN_A, WAN_B, and WAN_C interfaces. A firewall traffic rule is needed for access via the WAN_A, WAN_B, and WAN_C interfaces.
Figure 8. Login Screen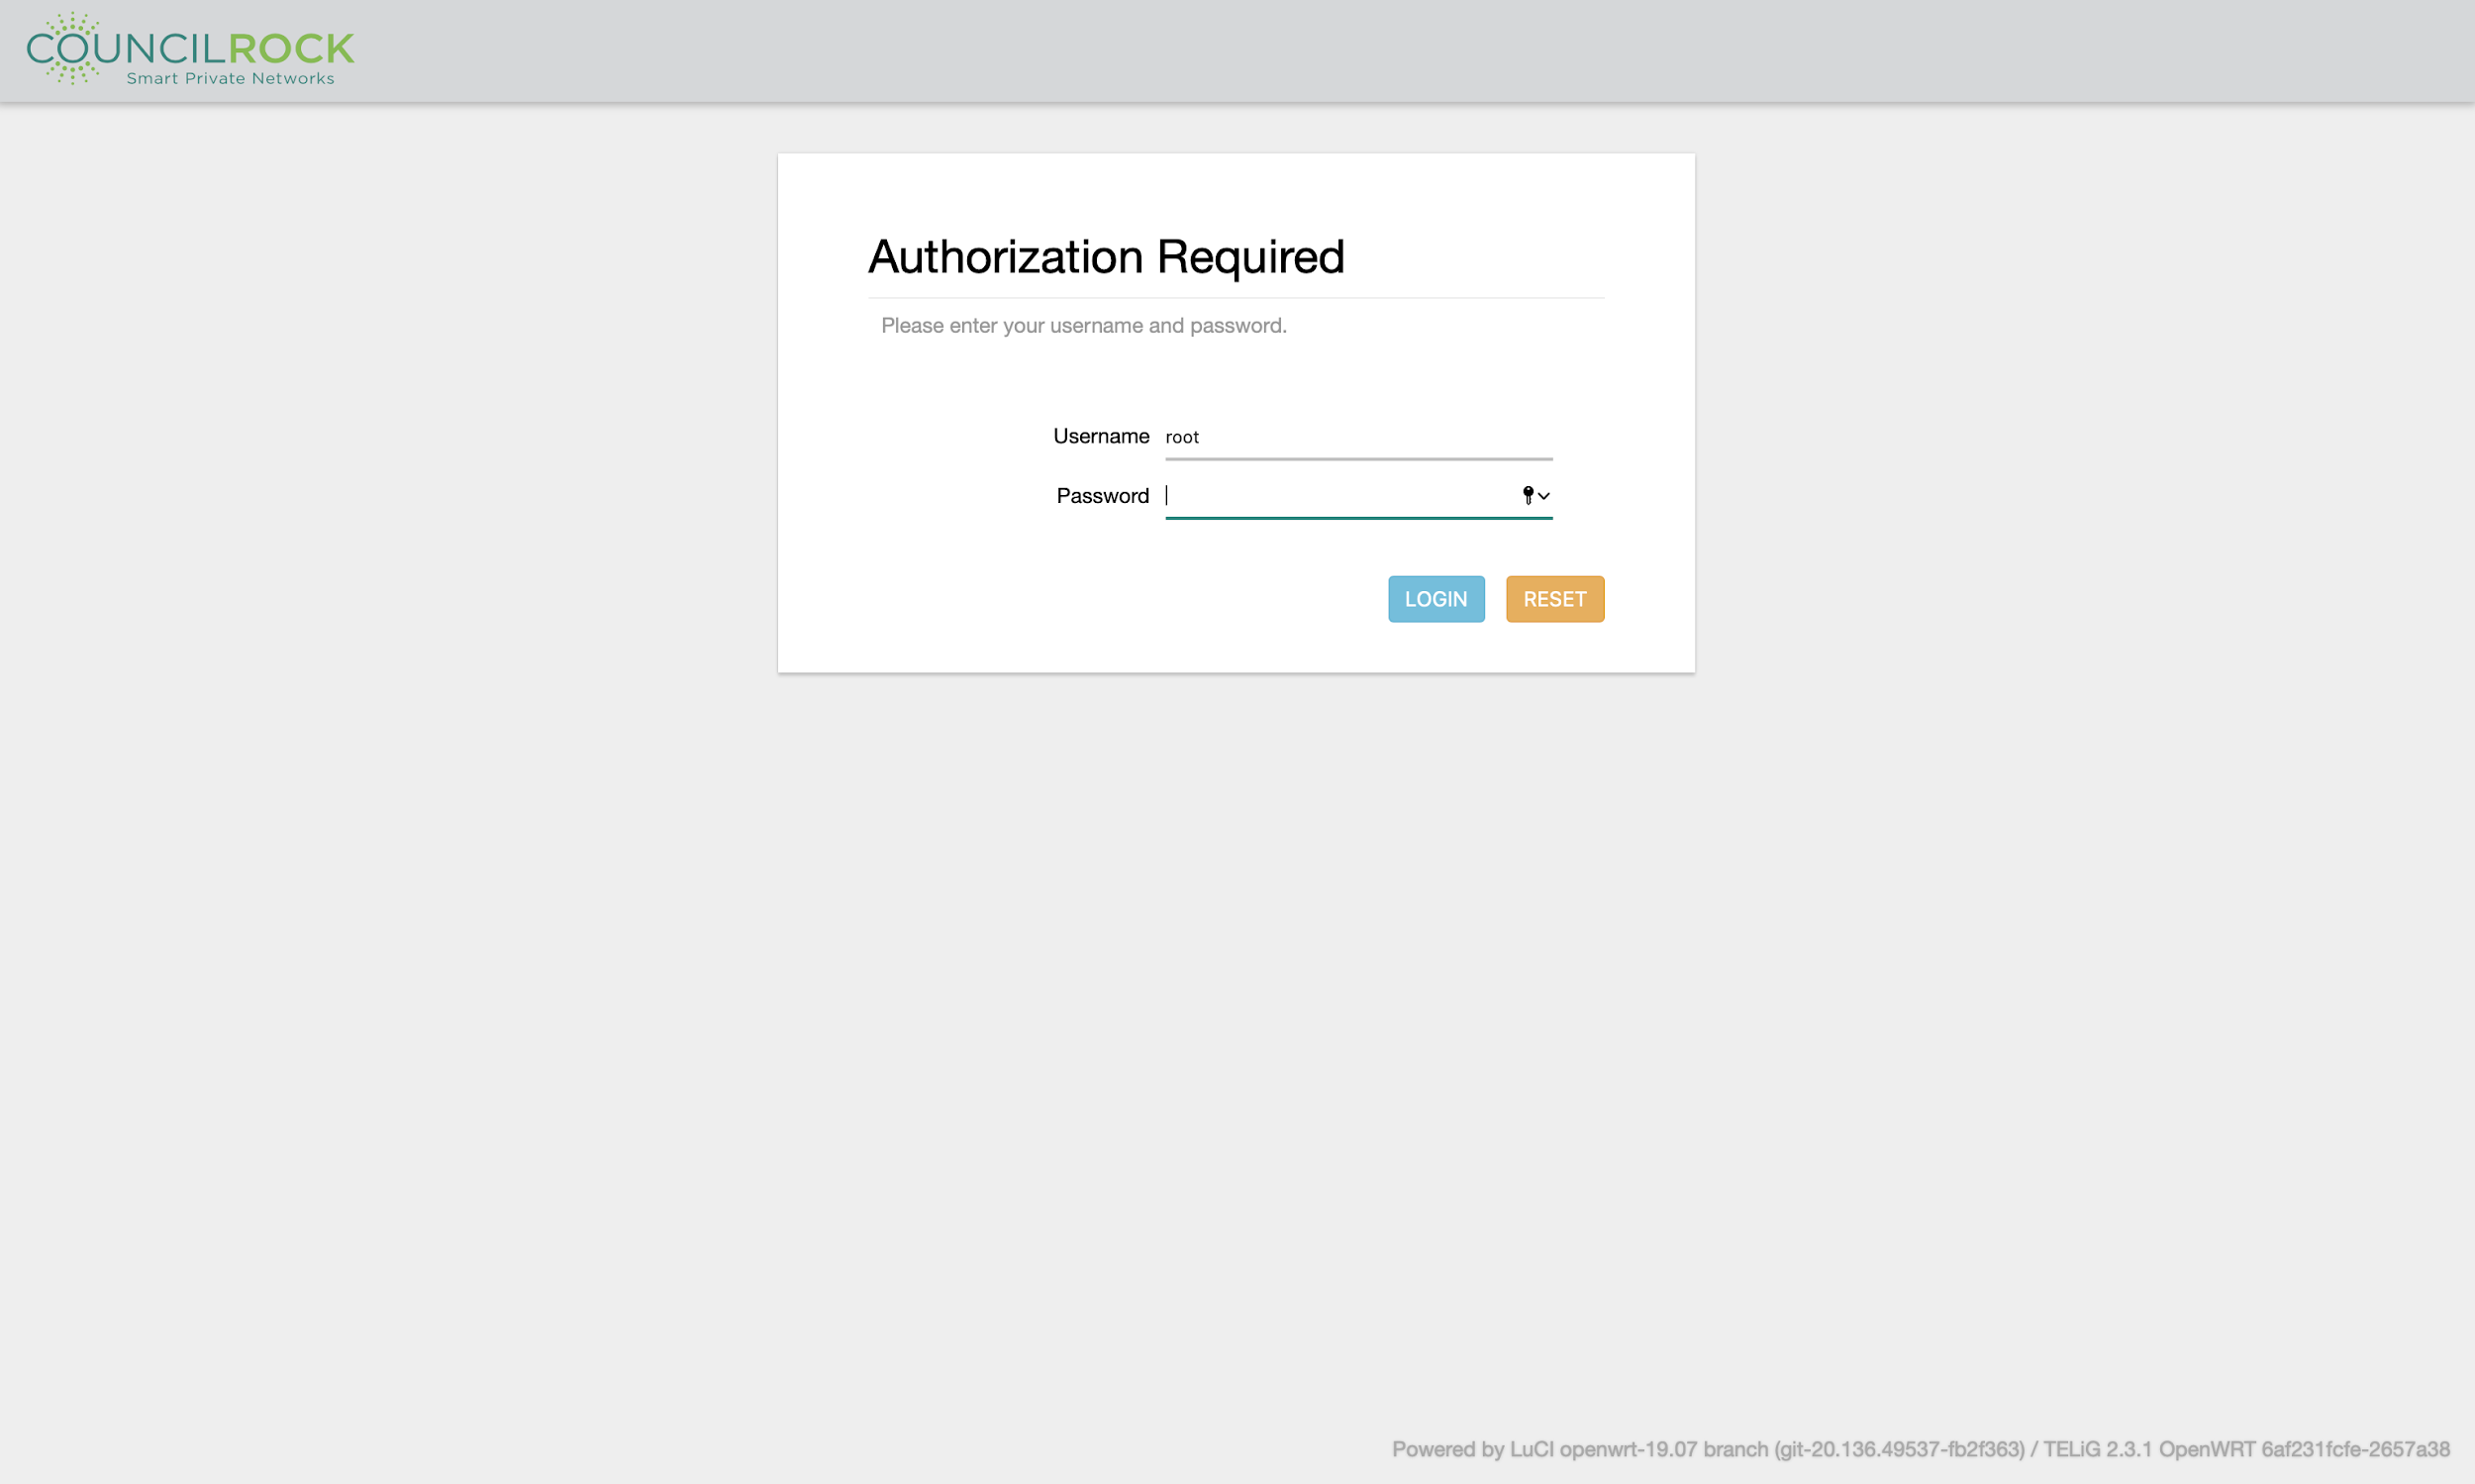
For each SIM card installed, an Access Point Name (APN) must be configured.
Navigate to Network > SIMs
Note the interface for each SIM in the General Info Section.
In the APNs Section, use the text boxes listed under the appropriate interface to enter each SIM's APN
Click SAVE & APPLY
Figure 9. SIM Card APN Entry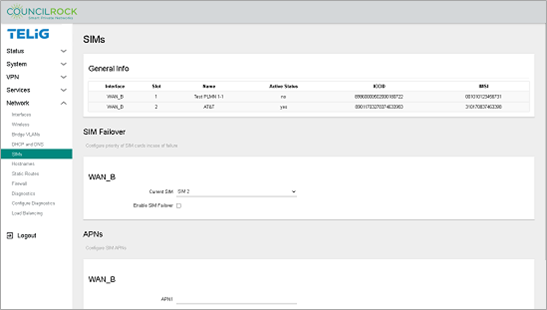
Troubleshooting
After completing the procedure in “Connect” above, the E1500 should display a solid green light and be ready to use. If it is not, connect to the Web Admin Interface using the procedure in “Web Admin” above, and review these troubleshooting steps:
Navigate to Status > LTE > Overview and review the information displayed. Identify the WAN interface you expect to use.
Confirm that the connection state is "connected," and the operator is the expected provider. if not, verify the device information. If you do not see an ICCID or IMSI, there may be an issue with your SIM card or with the APN configuration which is associated with your SIM card.
If your device information appears correct, but you are not connected to your expected operator, navigate to the Scan tab. Run a network scan for the interface through which you are expecting to connect and verify that the modem is able to see the network to which you are expecting to connect.
If you connection state, operator, and signal quality all check out, double-check the Bearers tab to verify that the unit has received an IP address.
Navigate to Network > SIMs and select Edit on the interface through which you are attempting to connect. Under APNs for the interface, verify that the correct APN has been entered.
Navigate to Network > Interfaces and select Edit on the interface through which you are attempting to connect.
On the General Settings tab, check whether the interface IP Type is set to IPv4-only, IPv6 only, or both. IPv4-only setting is recommended unless IPv6 is required.
On the Firewall Settings tab, verify that the firewall zone assigned to the interface is set to "WAN." See also Network > Firewall.